If you’re running a website or application on a Virtual Private Server (VPS), setting up a reliable email server is crucial for notifications, user communication, and more.
But let’s be honest: configuring a mail server can feel like navigating a maze blindfolded. This guide will walk you through installing Postfix and Mailutils on Ubuntu 24.04, configuring DNS records to avoid spam filters, and ensuring your emails land safely in inboxes.
Whether you’re a developer or a sysadmin, by the end of this tutorial, you’ll have a fully functional mail server with SPF and DKIM authentication—because nobody wants their emails to end up in the spam folder.
Installing Postfix and Mailutils on Ubuntu 24.04
First things first: let’s install the necessary packages. Postfix is a popular mail transfer agent, and Mailutils provides tools to test email functionality directly from the terminal.
sudo apt update
sudo apt install postfix mailutils
During installation, you’ll be prompted to configure Postfix. Select Internet Site and enter your domain name (e.g., example.com).
Next, edit /etc/postfix/main.cf to ensure critical settings like myhostname, mydomain, and mydestination are correct:
myhostname = mail.example.com
mydomain = example.com
mydestination = $myhostname, localhost.$mydomain, $mydomain
inet_interfaces = all
home_mailbox = Maildir/
Reload Postfix to apply changes:
sudo systemctl reload postfix
Firewall Setup and Sending Your First Email
Ensure your firewall allows SMTP traffic. Ubuntu uses UFW by default:
sudo ufw allow 25/tcp # SMTP
sudo ufw allow 587/tcp # Submission (TLS)
sudo ufw reload
Test email delivery with Mailutils:
echo “This is a test email” | mail -s “Test Subject” [email protected]
If the email doesn’t arrive, check the logs:
sudo tail -f /var/log/mail.log
Common issues include blocked ports, incorrect main.cf settings, or DNS misconfigurations. Log entries like “relay denied” or “Connection timed out” will guide your troubleshooting.
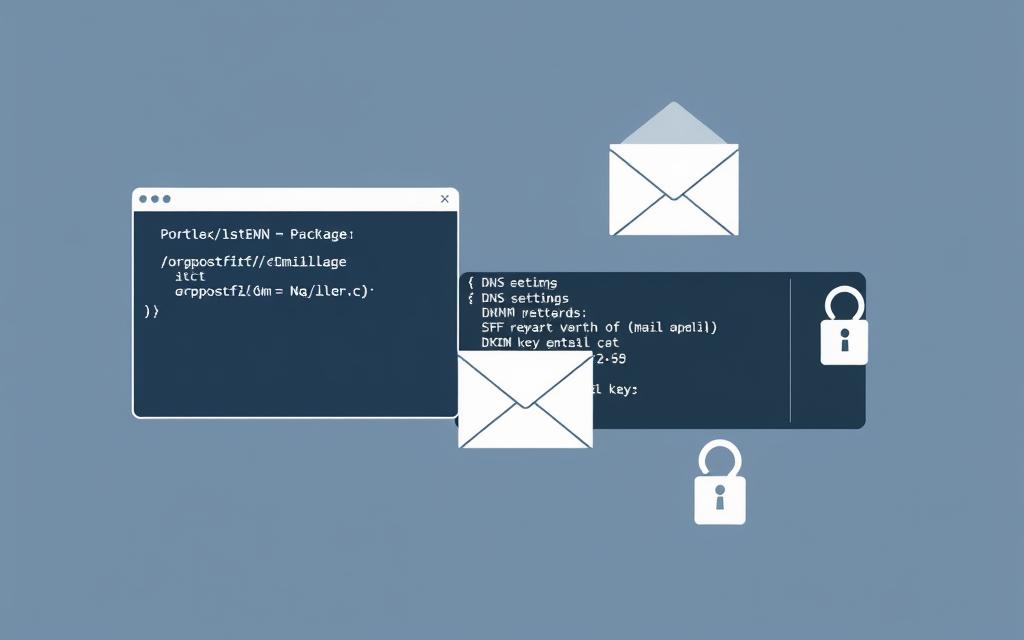
Configuring SPF and DKIM to Fight Spam
Even if your emails send successfully, they might be flagged as spam without proper authentication.
Start with an SPF record, which specifies which servers can send emails for your domain. Add this TXT record to your DNS manager:
v=spf1 mx a:mail.example.com -all
Next, set up DKIM to cryptographically sign emails. Install OpenDKIM:
sudo apt install opendkim opendkim-tools
Generate DKIM keys for your domain:
sudo opendkim-genkey -D /etc/opendkim/keys/ -d example.com -s default
sudo chown opendkim:opendkim /etc/opendkim/keys/default.private
Configure /etc/opendkim.conf:
Domain example.com
KeyFile /etc/opendkim/keys/default.private
Selector default
Socket inet:8891@localhost
Restart OpenDKIM and integrate it with Postfix:
sudo systemctl restart opendkim
sudo postconf -e “milter_protocol = 6” “milter_default_action = accept” “smtpd_milters = inet:localhost:8891”
Finally, publish your DKIM public key. Copy the contents of /etc/opendkim/keys/default.txt to a DNS TXT record under default._domainkey.example.com.
Finalizing and Validating Your Setup
After updating DNS records (SPF and DKIM), validate everything using online tools like MXToolbox or Mail-Tester.com. Ensure Postfix and OpenDKIM are running:
sudo systemctl status postfix opendkim
Send another test email and inspect its headers for SPF=Pass and DKIM=Pass results. If issues persist, double-check DNS propagation (this can take up to 48 hours) and review log files for errors.
Pro Tip: Consider adding a DMARC record to further improve email deliverability and receive reports about your email authentication status.
Wrapping Up: Your Secure Email Server Is Ready
By now, you’ve installed Postfix, configured DNS records to combat spam, and set up DKIM authentication. Remember, email deliverability hinges on proper DNS configuration—SPF and DKIM are non-negotiable for modern email servers. Regularly monitor logs and test your setup to catch issues early.
With these steps, your Ubuntu 24.04 VPS is now a reliable email sender, ready to handle notifications, newsletters, or whatever your project needs. Now go forth, and may your emails never see the spam folder again!
Comments are closed.